

I wanted to make one baby hand print and one baby foot print ornament for Olive's first Christmas tree. I figured that painting them would be rather tricky so I pinned this recipe for Salt Dough Ornaments. These just take a few minutes to bake, a couple hours to bake and are ready to hang on your tree. Don't worry if you aren't able to make these before Christmas because you could easily do them in the coming weeks and still capture their sweet size at Christmas this year.
You'll need
1 cup salt
1 cup flour
3/4 c warm water
cookie cutter
straw
ribbon
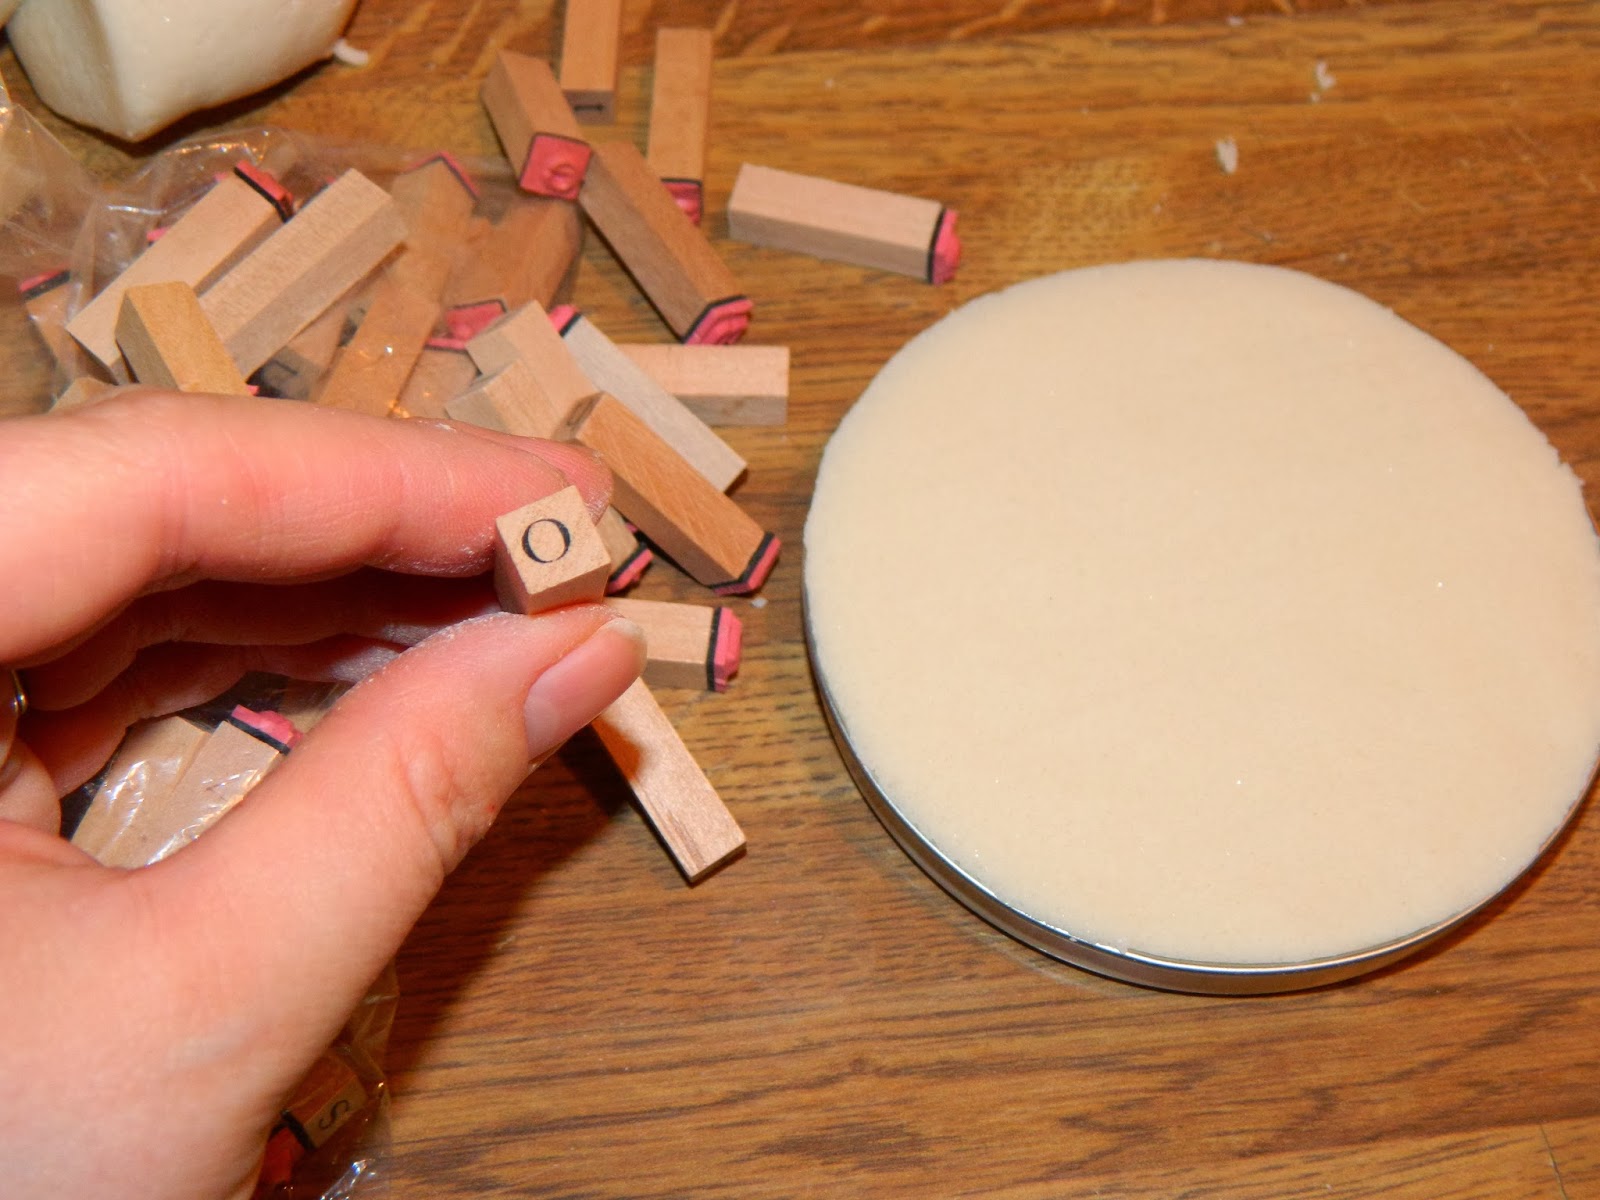
mini alphabet stamps
wet paper towels
Mix all ingredients together in your mixer and let them mix for several minutes. You'll know that you haven't been mixing long enough if your dough is really granular. You want it to be pretty smooth so keep adding a little bit of flour or warm water to get just the right consistency.


Perfectly round ball of dough.

I cut it in half figuring that I'd need half for a hand print and half for a foot print.

I realized it was too much dough so I cut it into thirds
and wanted to use this tin lid for my ornament base.

I selected my favorite font of mini alphabet stamps
and picked out the letters for Olive's name.

Olive was not so sure about it at first.
I wiped off her right hand and right foot.

Then gave her a piece of candy to hold. She was now on board with my project.

I pressed her hand into the dough I put in the tin lid.
I quickly realized that this set up wasn't going to work.
The dough was oozing out and it was nearly impossible to get out of the lid.
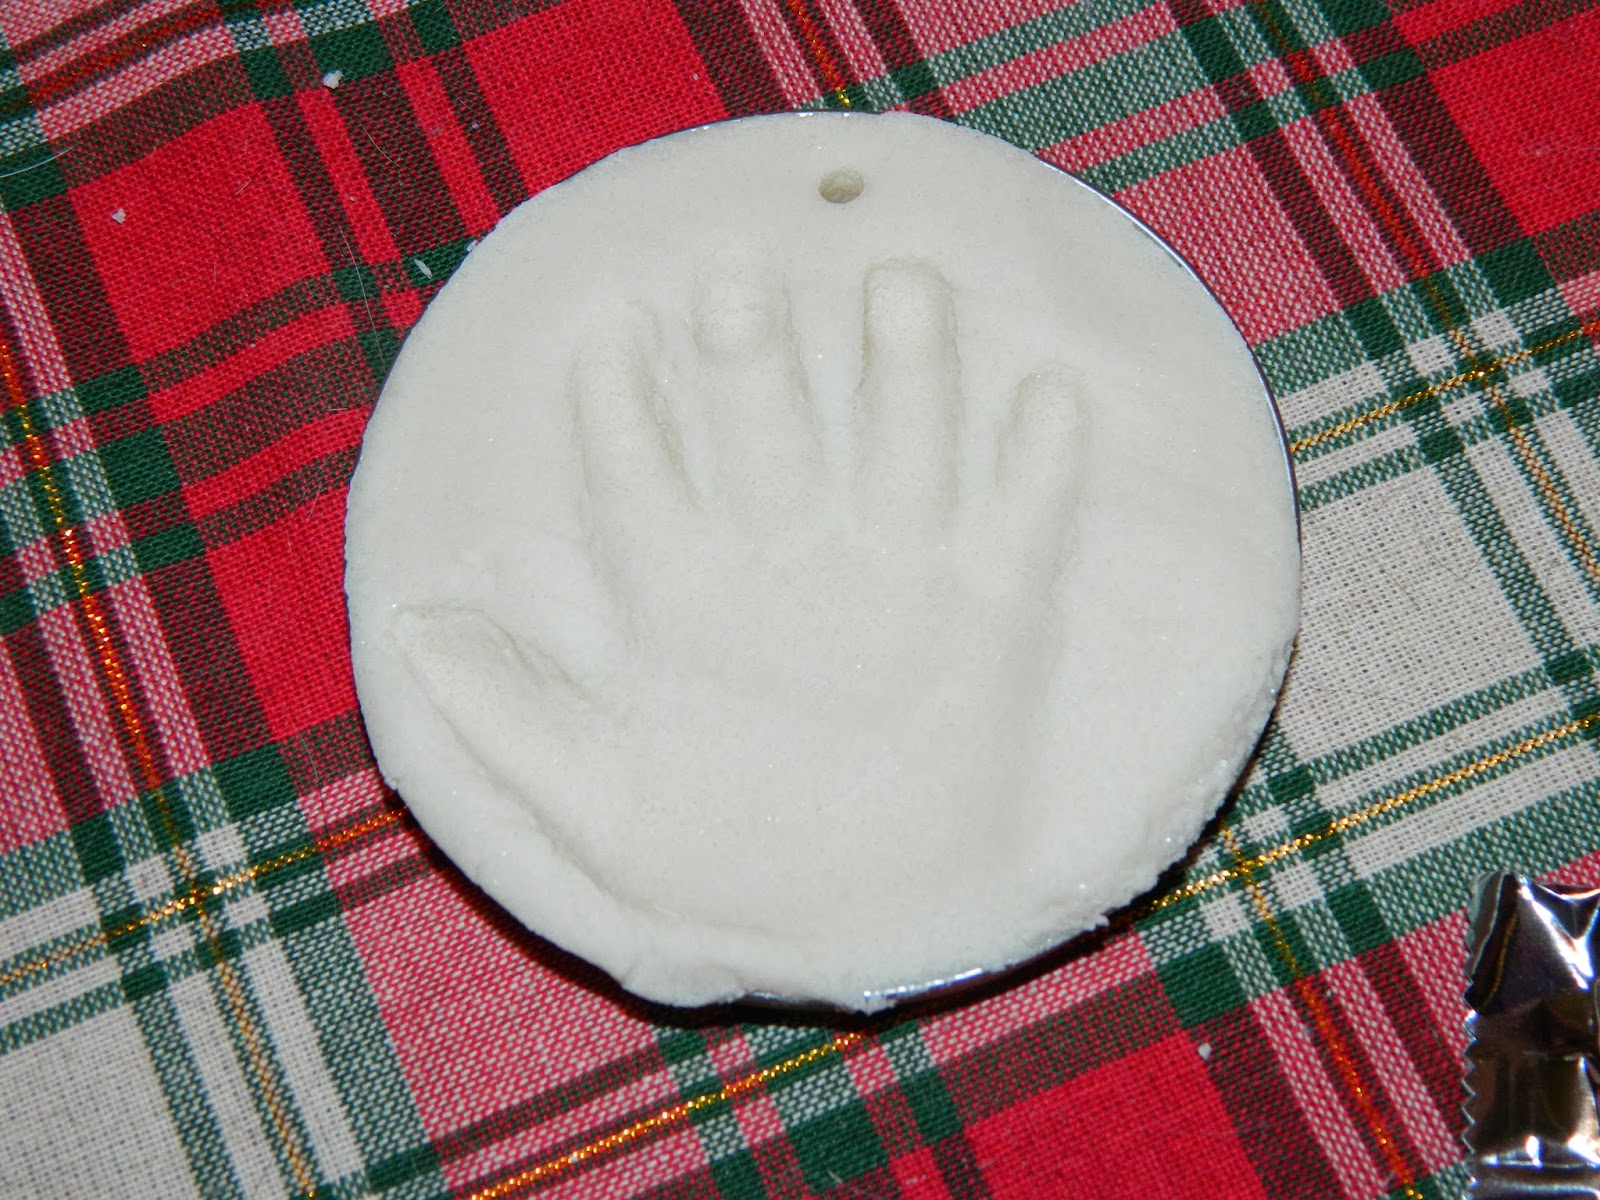
I moved on to plan B and made a flat hamburger patty shape of dough
and pressed her hand into this.

I did the same thing with her foot.


The I used my largest round cookie cutter to cut a perfect circle out.
Used the straw to pike a hole to put ribbon through and stamped her name it in.

The ornament on the left is from the tin lid and the ones on the left are cut out.

The salt dough has a little sparkle to it.

Done and ready to bake at 200-250 for 3 hours.
Check on them periodically and you'll know they are done when you lift them up and they no longer look doughy on the bottom and are slightly browned.

My straw was a little narrow so I had to use a toothpick to help me get my ribbon through.

I tied a knot at the ornament, left a loop for hanging and then tied a bow at the top.
I used about 18 inches of ribbon for each.

They look adorable hanging on Olive's tree in her nursery.
I added 2013 to the back of each ornament with a marker.


What a perfect idea! I love how you used a cookie cutter to give them that professional look. What a keepsake!
ReplyDeleteGreat blog with great picture. Thanks for sharing this post.,,,Spiral Dough Mixer
ReplyDelete