Tuesday, December 24, 2013

10 Years Ago...

I was getting engaged on Christmas Eve.
Kevin picked out the ring all on his own.
Sneakily found out my ring size, had it sized so that it would fit right away
and we spent the whole break sharing the news with our family and friends.
I can't believe it's been 10 years.
So much has changed since 2003;
I could have never imagined all of the fun adventures that we would get to go on.  
Can't wait to see what the next 10 years bring our way.
Merry Christmas EVE!!

Merry Christmas Cards!!

Merry Christmas
from our house to yours!!
I was really please with how our card turned out this year.  My cousin, Lacey, took our picture a few months ago and I loved the bright colors.  Merry 1st Christmas Olive.
Every other year, we update our family picture with my family.  It's a lot of work to coordinate everyone's schedules and busy lives but it's so nice to have the pictures of our whole crew.
Here's my parent's card this year:
My sister's fam + my parents + my brother's fam + my fam

Monday, December 23, 2013

Salt Dough Ornaments

I wanted to make one baby hand print and one baby foot print ornament for Olive's first Christmas tree.  I figured that painting them would be rather tricky so I pinned this recipe for Salt Dough Ornaments.  These just take a few minutes to bake, a couple hours to bake and are ready to hang on your tree.  Don't worry if you aren't able to make these before Christmas because you could easily do them in the coming weeks and still capture their sweet size at Christmas this year.

You'll need
1 cup salt
1 cup flour
3/4 c warm water
cookie cutter
straw
ribbon
mini alphabet stamps
wet paper towels

Mix all ingredients together in your mixer and let them mix for several minutes.  You'll know that you haven't been mixing long enough if your dough is really granular.  You want it to be pretty smooth so keep adding a little bit of flour or warm water to get just the right consistency.
 Perfectly round ball of dough.

I cut it in half figuring that I'd need half for a hand print and half for a foot print.
 I realized it was too much dough so I cut it into thirds
and wanted to use this tin lid for my ornament base.

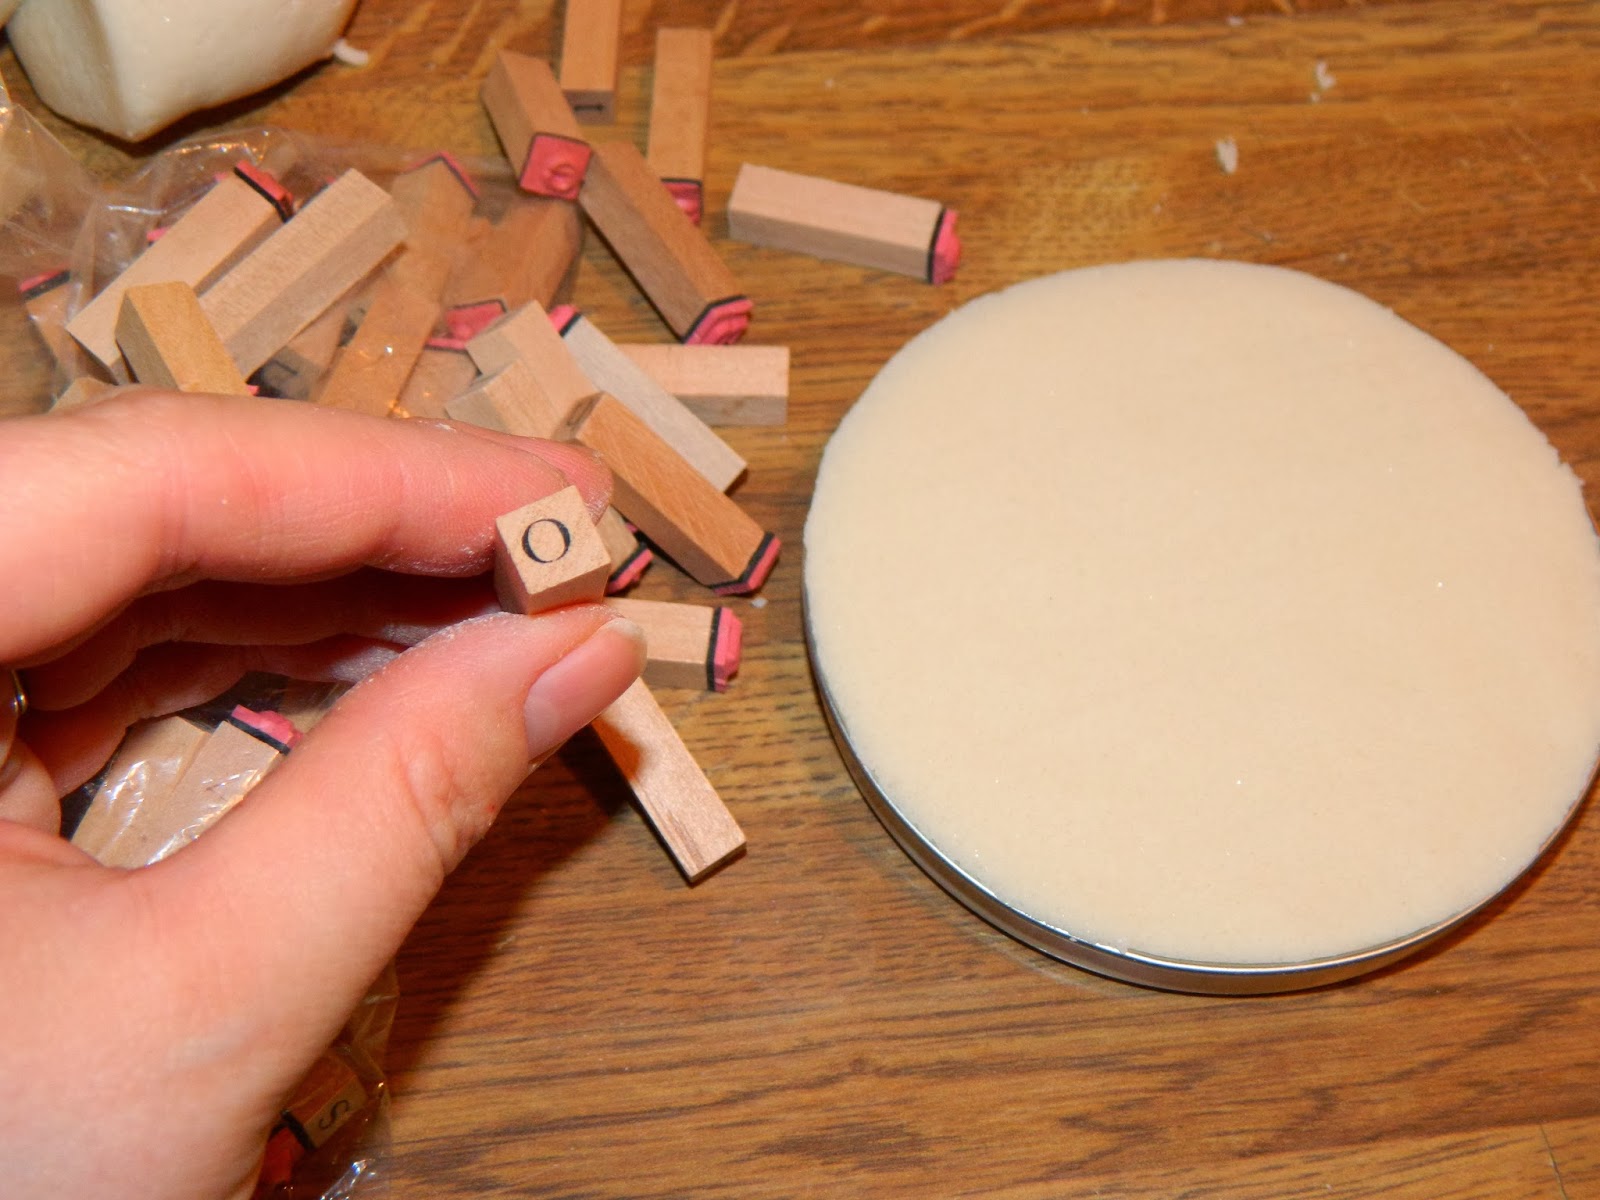
 I selected my favorite font of mini alphabet stamps 
and picked out the letters for Olive's name.


 Olive was not so sure about it at first.
I wiped off her right hand and right foot.
 Then gave her a piece of candy to hold.  She was now on board with my project.

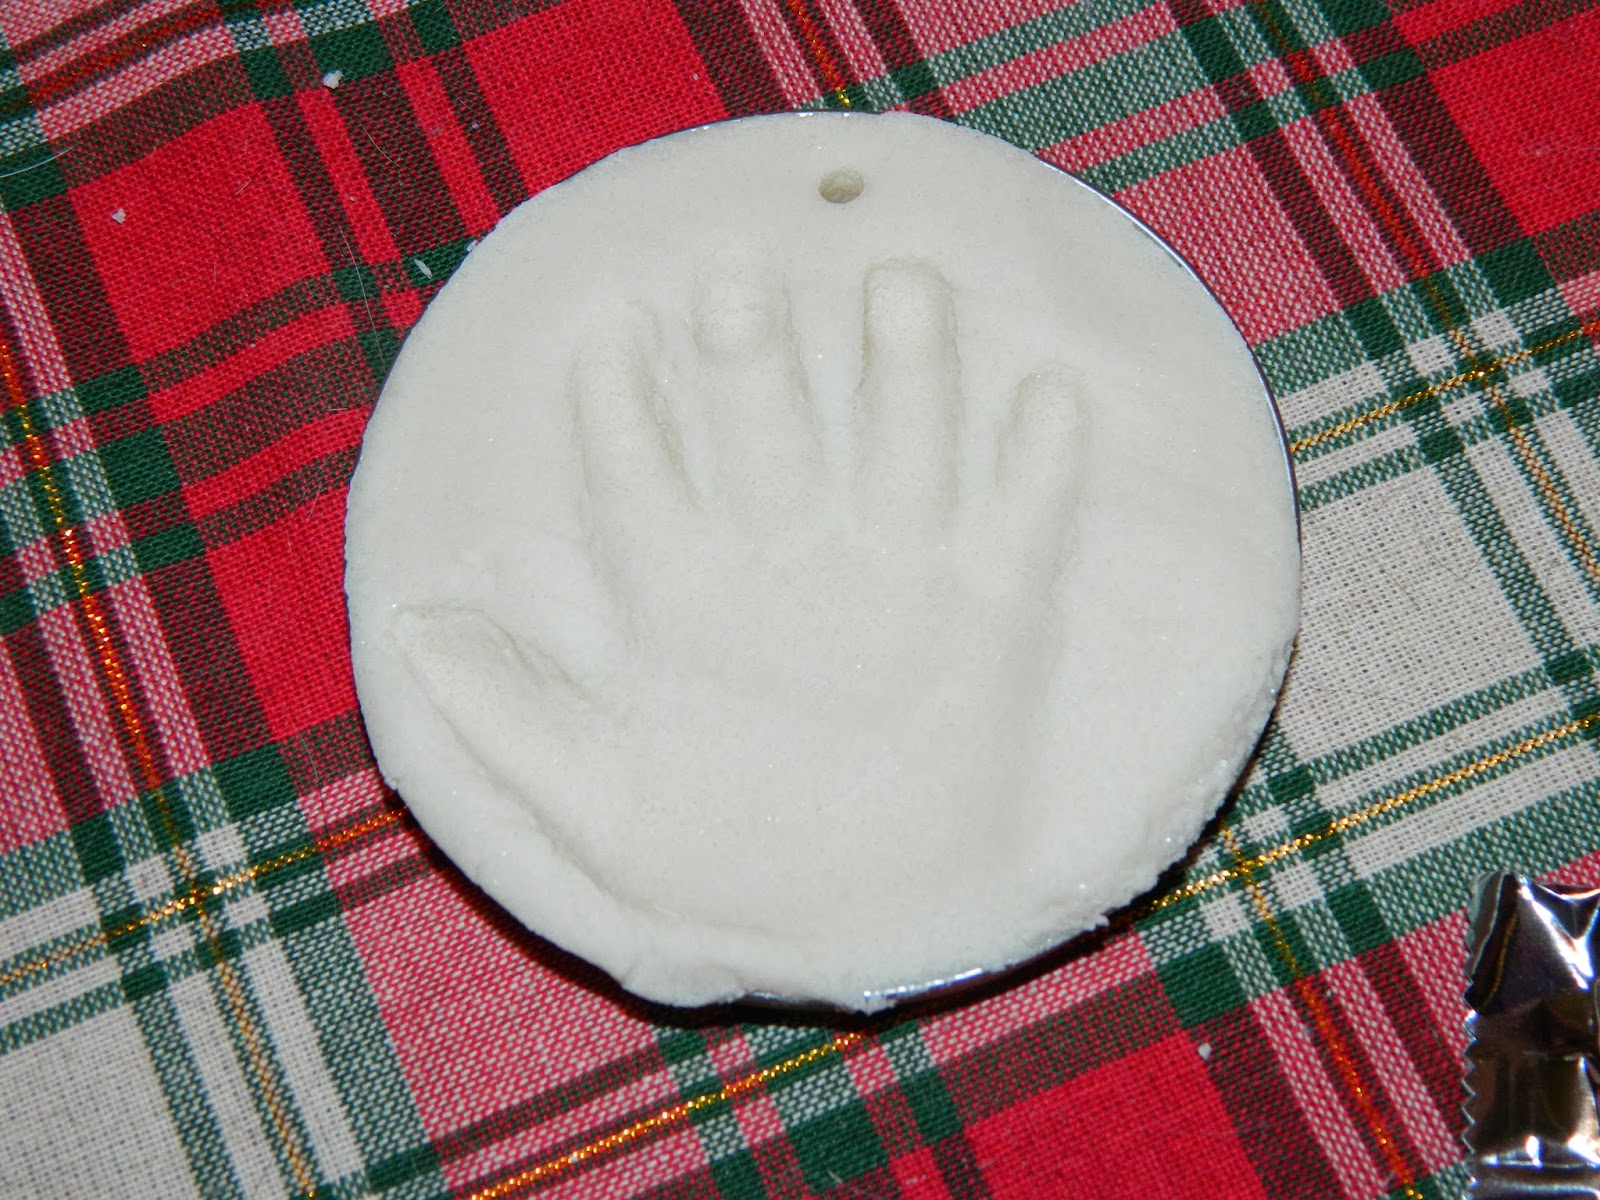
I pressed her hand into the dough I put in the tin lid.
I quickly realized that this set up wasn't going to work.
The dough was oozing out and it was nearly impossible to get out of the lid.

 I moved on to plan B and made a flat hamburger patty shape of dough
and pressed her hand into this.
 I did the same thing with her foot.
 The I used my largest round cookie cutter to cut a perfect circle out.
Used the straw to pike a hole to put ribbon through and stamped her name it in.

 The ornament on the left is from the tin lid and the ones on the left are cut out.
 The salt dough has a little sparkle to it.
 Done and ready to bake at 200-250 for 3 hours.
Check on them periodically and you'll know they are done when you lift them up and they no longer look doughy on the bottom and are slightly browned.
 My straw was a little narrow so I had to use a toothpick to help me get my ribbon through.
 I tied a knot at the ornament, left a loop for hanging and then tied a bow at the top.
I used about 18 inches of ribbon for each.

They look adorable hanging on Olive's tree in her nursery.
I added 2013 to the back of each ornament with a marker.

DIY Gingerbread House

Have you ever made your own gingerbread house from scratch??
I have a pretty simple recipe that I'd like to share with you.

Ingredients:
1/2 c shortening
1/2 c sugar
1/2 c molasses
1/2 T vinegar
1 beaten egg
3 c flour
1/2 t baking soda
1 T cinnamon
1/2 t ginger
1/4 t salt
1 serving platter to build your house on
an icing bag and tip
 LOTS of colorful candy!!!!
*I start saving candy around Halloween and keep it stashed away until Christmas each year.  I save anything that we don't finish or that I think would look cute on our house.  I usually only purchase a few candy items to add to our stash.  This year I bought Twizzler bites and Dots but the rest was candy that I gathered.

Mix the shortening, sugar, vinegar and molasses in a mixer until well combined.
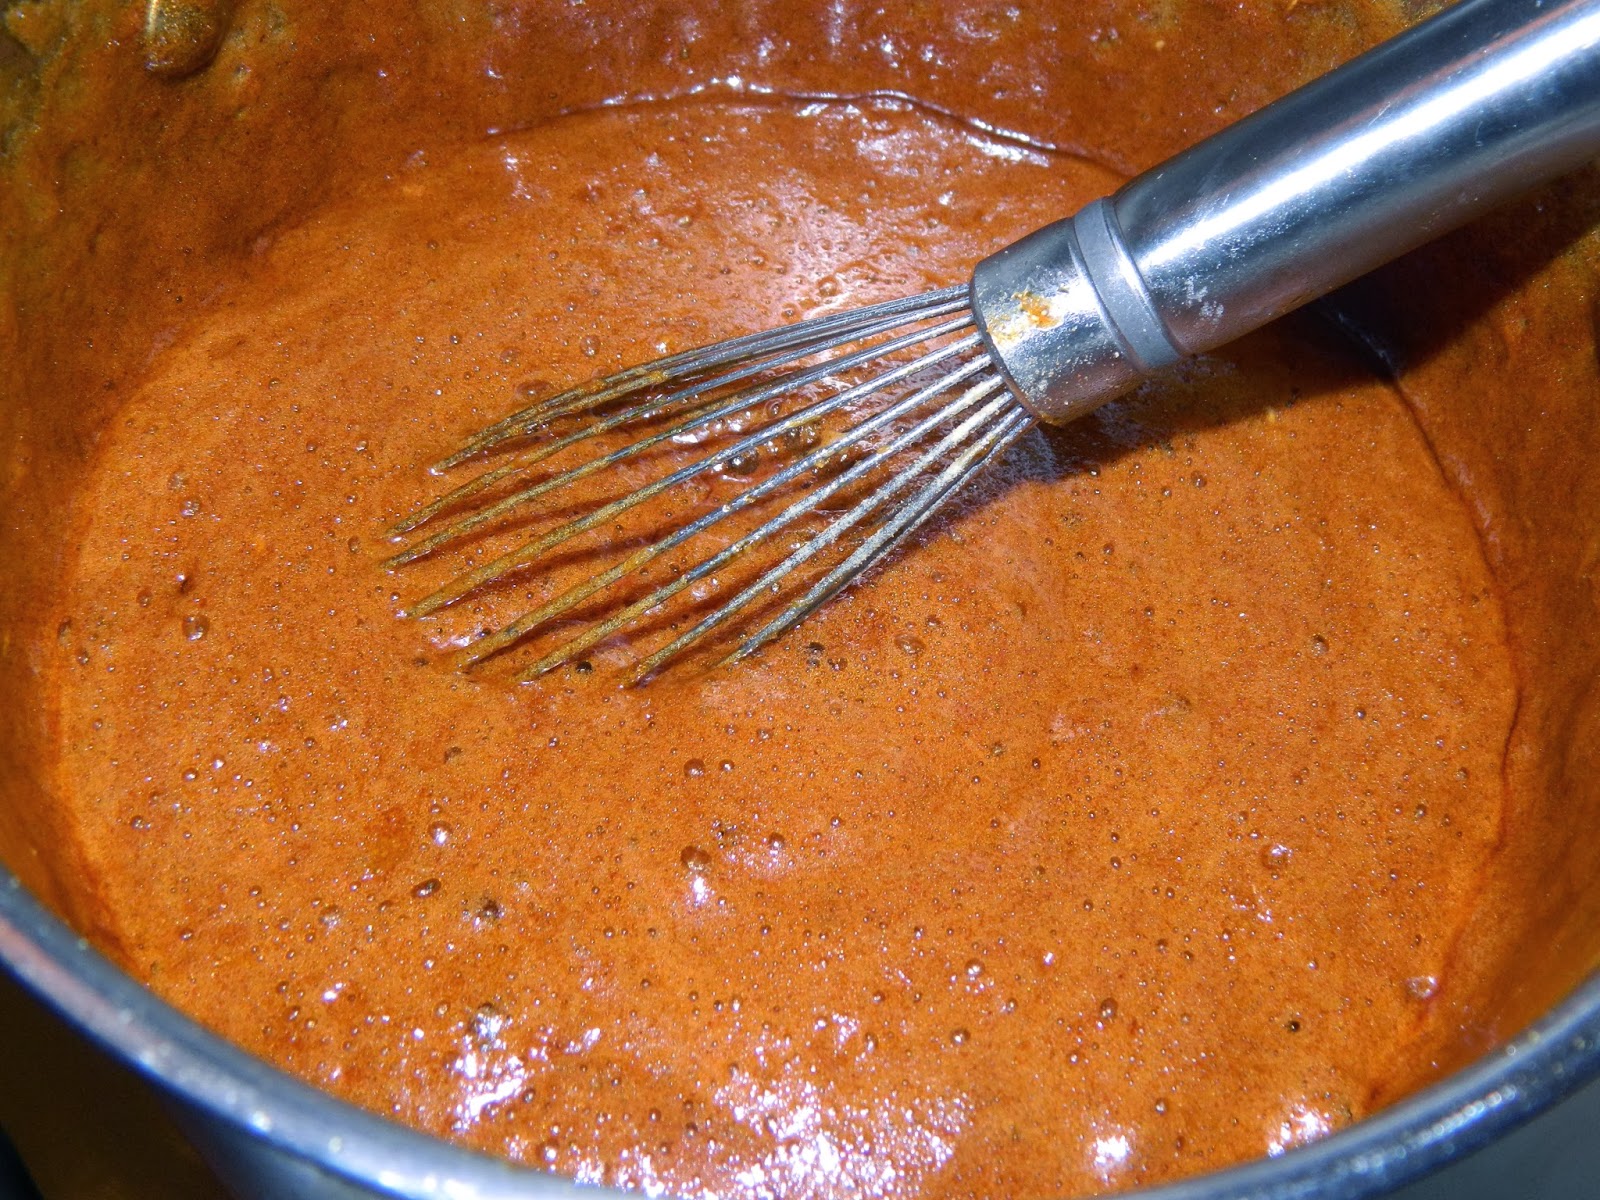
 Heat the mixture in a saucepan until it starts to boil.
It'll change from light brown and fluffy to dark brown and liquidy.
 Once it starts to boil add in the beaten egg and whisk together.
 Remove from heat and add in the rest of the ingredients leaving the flour last.
 Stir together with a spatula and refrigerate for a few hours.

 While the dough is chilling, prepare your candy tray for decorating.

 Royal Icing Ingredients:
3 egg whites
1 lb powdered sugar
1/2 t cream of tartar

Mix together for 6-7 minutes.
The icing will have a pearly shine to it when it is done.
It's also pretty thick.  If your icing ends up being runny, add more powdered sugar.
It must be stiff to hold your house together!!!

Take the dough out of the fridge and knead it a bit.
Mine was hard as a rock so I broke it up and added a few tablespoons of milk.
It was much more pliable and was ready to be rolled out.
I use these cut outs:
two small rectangles (sides of house)
two large rectangles (roof) 
2 end pieces (one with a door and one without)

 Lay your templates on top of the rolled out dough.
 Cut was a knife and place on a greased cookie sheet.
 All the pieces for one house should fit on one cookie sheet.
Bake at 350 for 12-15 minutes.
You don't want it to be soft so make sure that the edges are crispy.

 Use a spatula to transfer the royal icing to an icing bag.
 Let the pieces of your house cool for about 30 minutes and start assembling.
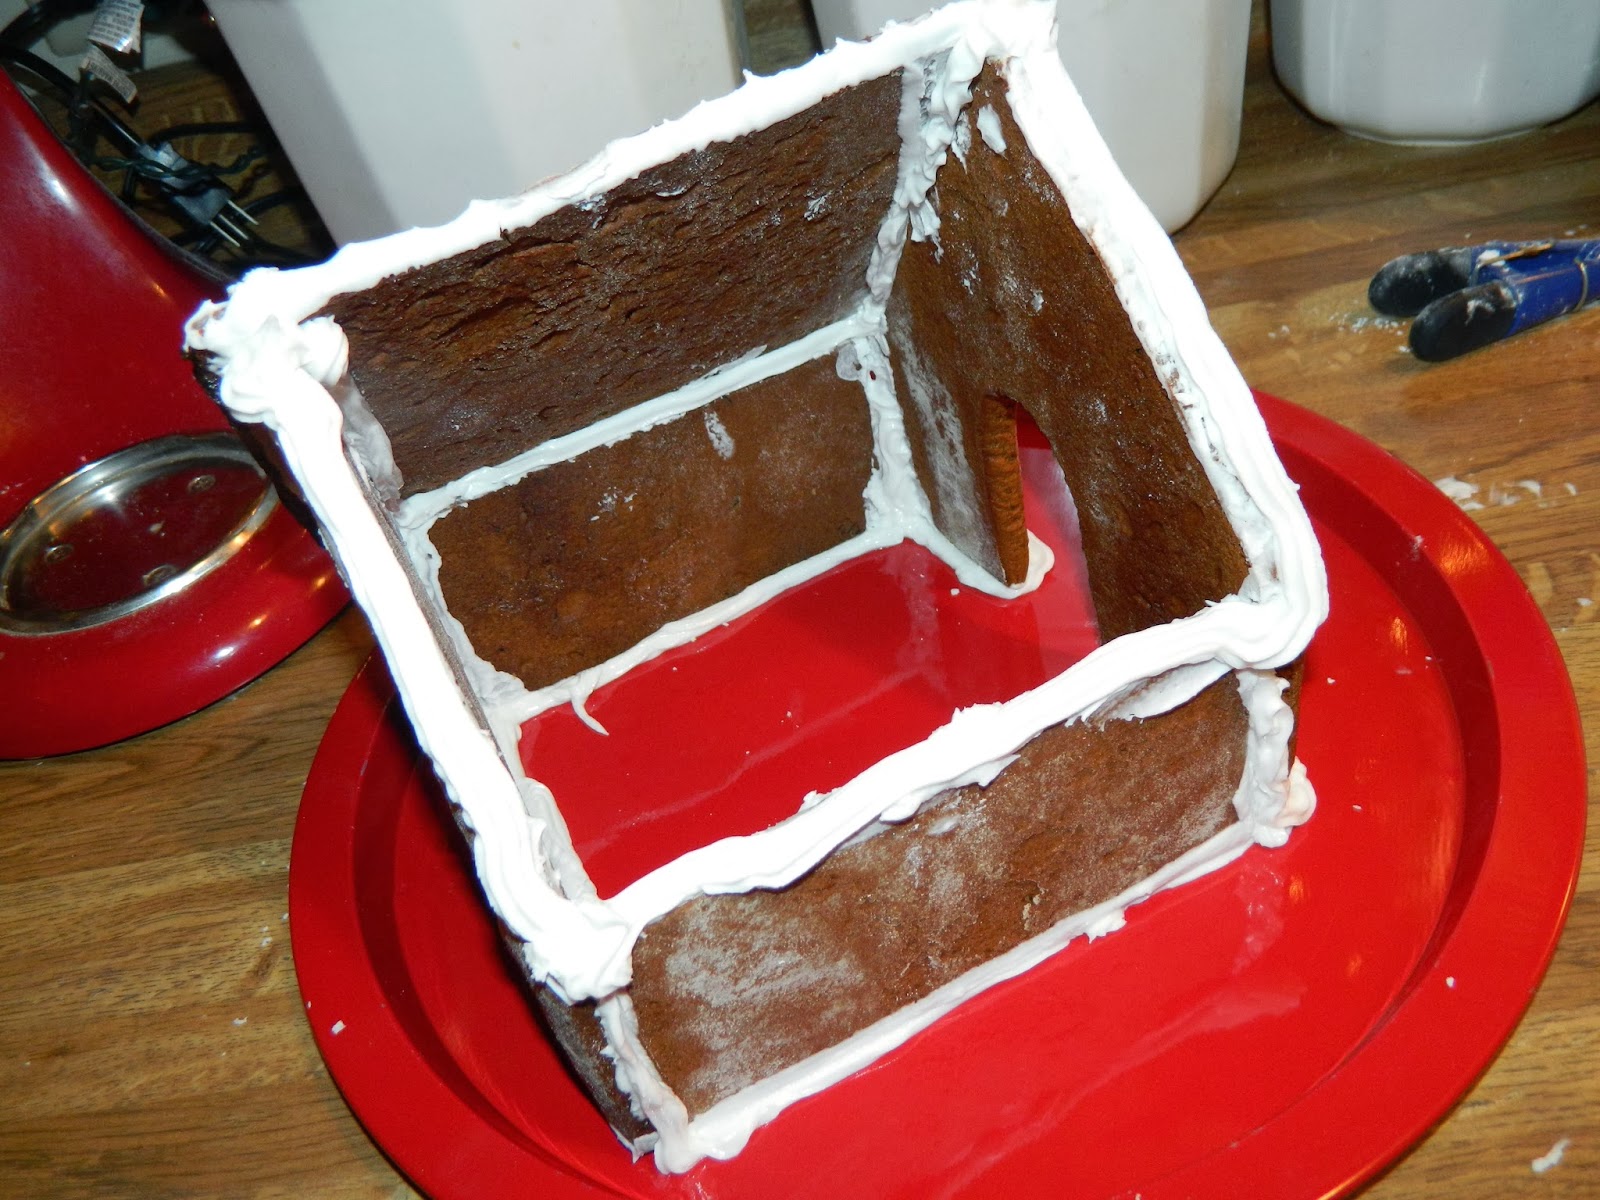
It's easiest if you do the side walls first, do the front and back of the house next 
and the roof last :)
 Again, your icing has to be stiff for this to work.
If it seems too running or doesn't hold its shape, STOP and add more powdered sugar.
 Let your house sit for a few minutes before starting to decorate it.

 Get ready, get set, GO!!
I was so excited to do this with my baby because it's her first Christmas!!
I wasn't sure if she'd enjoy it or be bored.
Olive takes after her mama and LOVES candy.

I put all of the icing on and my husband helped me decorate.
Olive was the supervisor and the candy wrapper holder.
 Our family had so much fun!!

 Olive lost interest after about 15 minutes 
so she played with toys while I finished our house.
Ta Da!!!!!!!!
 I put our house on display in our kitchen for us to enjoy throughout the holidays.
Bonus: It smells AMAZING!!